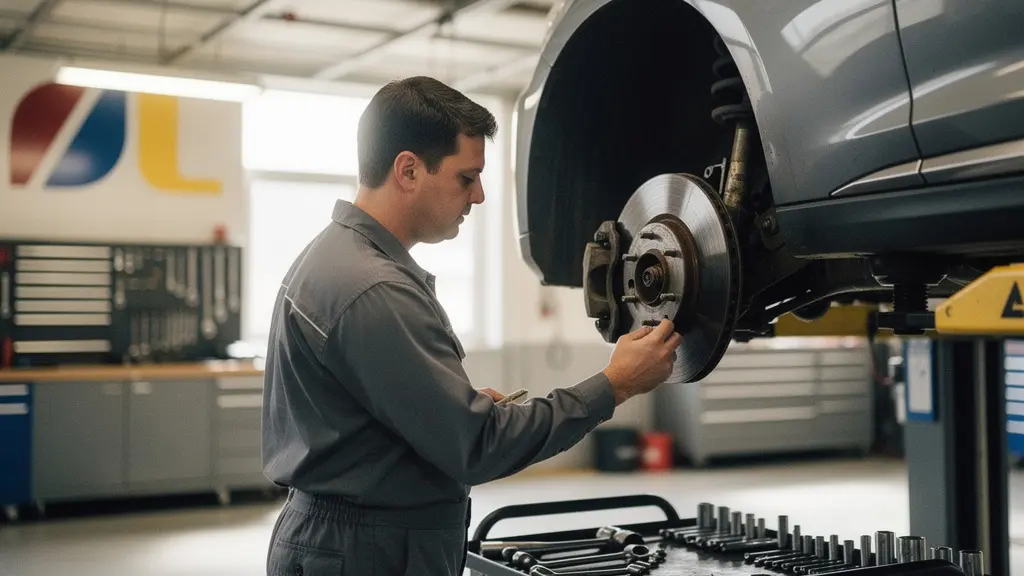
That grinding noise or steering wheel judder isn’t just an annoyance; it’s your vehicle communicating a precise mechanical issue, and cheap components offer a false, dangerous economy.
- A high-pitched squeal is often a built-in warning, while a grinding noise means you’ve entered a critical failure state.
- Vibrations are rarely from « warped » discs but from uneven material deposits (DTV) caused by poor quality parts or improper break-in procedures.
Recommendation: Learn to interpret these signals correctly. Understanding the difference between an amber warning (a squeal) and a red-light danger (a spongy pedal) is critical for your safety before a minor issue becomes a major failure.
That sudden, high-pitched squeal as you approach a junction, or the subtle judder through the steering wheel under braking—these are sensations every driver knows and dreads. Your immediate reaction is likely a mix of annoyance and concern, followed by a cascade of questions. Is it serious? Can it wait? How much is this going to cost? The internet and well-meaning friends might offer generic advice, telling you « it’s just dust » or giving a vague mileage interval for replacement that doesn’t account for your driving style or vehicle.
But these symptoms are not random. They are precise physical signals, a language of friction, heat, and hydraulic pressure that your braking system uses to tell you its exact condition. Ignoring them, or worse, misinterpreting them, can have severe consequences. The real key to brake safety isn’t adhering to a generic schedule; it’s learning to translate this mechanical language. This guide moves beyond simple checklists to decode the « why » behind each sound and sensation. We will dissect the physics of a squeal, the danger of a « spongy » pedal, and the crucial difference in stopping power between quality components and their low-cost imitations.
By understanding the science behind the symptoms, you can make informed decisions, ask the right questions of your mechanic, and gain the ultimate peace of mind that your vehicle will stop safely and effectively, every single time. This article provides a detailed breakdown of the critical components of your braking system to help you diagnose potential issues.
Summary: When Is It Time to Change Your Brake Discs?
- Why this sharp squeal during braking should not be ignored?
- Plaquettes OEM vs premier prix : économiser 20 £ vaut-il le risque ?
- Why the ‘spongy’ brake fluid is an invisible danger?
- Warped disc or balance issue: how to tell the difference?
- How to rod your new pads to avoid glazing them from the start?
- Pneus usés à 2mm vs neufs : quelle différence de freinage sur sol mouillé ?
- Disques de frein à 20 £ : l’économie qui rallonge votre distance d’arrêt de 10m
- Défaut Majeur vs Dangereux : pouvez-vous ramener la voiture chez vous ?
Why this sharp squeal during braking should not be ignored?
That high-frequency squeal is, in most modern vehicles, a deliberately engineered feature. It’s not a sign of failure, but a designed-in audible wear indicator. This is a small metal tab attached to the brake pad that makes contact with the brake disc once the friction material has worn down to a specific safety minimum. Its sole purpose is to create an unmistakable, annoying noise to alert you that it’s time for a replacement.
Think of it as an « Amber Light » warning for your brakes. The system is still functioning, but you are approaching the end of its service life. The friction material is typically designed to trigger this alert when it reaches a thickness of around 2-3mm. Continuing to drive will eventually wear through the remaining material, leading to a much more dangerous « Red Light » situation: a low, harsh grinding noise. This indicates the steel backing plate of the pad is now grinding directly against the brake disc—metal on metal. This not only dramatically increases your stopping distance but also rapidly destroys the brake disc, turning a routine pad replacement into a much more expensive repair.
Some warning signs demand immediate attention, while others allow for a scheduled visit to the garage. A high-pitched squeal that appears during braking is an amber warning to act soon. However, according to some experts, a vehicle pulling violently to one side or a brake pedal that goes to the floor with minimal resistance are red light warnings, meaning you should stop driving immediately. Ignoring the initial squeal is essentially ignoring the car’s own built-in safety announcement.
OEM vs low-cost pads: is saving £20 worth the risk?
When presented with a repair bill, the temptation to opt for budget-friendly brake pads to save £20 or £30 is understandable. However, the difference between Original Equipment Manufacturer (OEM) pads and cheap aftermarket alternatives is far more significant than the price tag suggests. This difference lies in the invisible science of friction material compounding, manufacturing tolerances, and heat management.
OEM pads are engineered specifically for your vehicle’s weight, power, and intended use. The friction material is a complex recipe of fibres, fillers, and bonding agents designed to provide a precise balance of stopping power, low noise, minimal dust, and a predictable service life. Budget pads, conversely, are often a « one-size-fits-all » solution, using simpler, cheaper compounds that prioritise low cost over performance. This often results in excessive noise, heavy brake dust that corrodes wheels, and a significantly shorter lifespan.
Case Study: The Real-World Cost of Budget Brakes
A GM truck owner documented a compelling experience when replacing budget Centric brake shoes with OEM AC-Delco parts. Despite the budget pads having substantial friction material left, the driver noted that significantly higher pedal effort was required for effective braking. After switching back to OEM components at a £100 premium, they reported a dramatic improvement in braking feel and reduced pedal effort, concluding the extra cost was a worthwhile investment in safety and performance.
This table sourced from an analysis of different pad types clearly illustrates the trade-offs:
| Category | OEM Pads | Quality Aftermarket | Budget Aftermarket |
|---|---|---|---|
| Average Lifespan | 30,000-70,000 miles | 30,000-60,000 miles | 15,000-30,000 miles |
| Price Range | £40-70 per axle | £35-60 per axle | £15-30 per axle |
| Noise Level | Minimal | Low to moderate | Often excessive |
| Brake Dust | Minimal | Varies by compound | Often excessive |
| Rotor Wear | Normal | Normal to slightly increased | Accelerated wear possible |
| Warranty | 1-2 years typical | Limited lifetime often available | Minimal or none |
More critically, budget pads can wear unevenly and are more susceptible to « glazing »—a hardening of the pad surface due to excessive heat—which severely reduces their ability to create friction. That £20 saving could translate into several extra metres of stopping distance in an emergency.
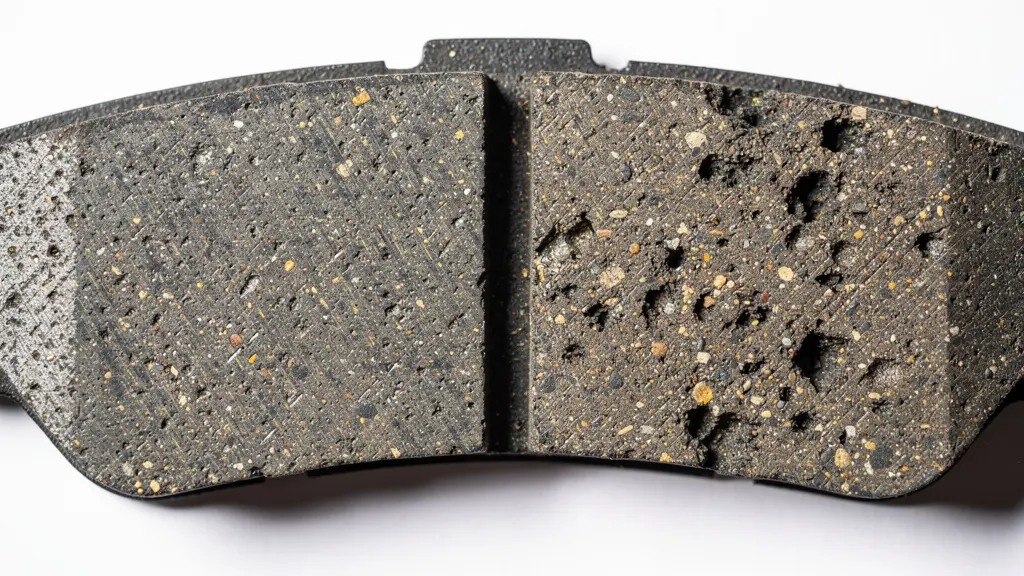
As the image shows, the density and consistency of the friction material can vary dramatically. A denser, more uniform compound found in quality pads ensures consistent performance, while the porous nature of some budget pads can lead to unpredictable braking and premature failure.
Why the ‘spongy’ brake fluid is an invisible danger?
A spongy or soft brake pedal is one of the most insidious and dangerous symptoms a driver can experience. Unlike a noise or vibration, it’s a change in feel that can develop gradually, making it easy to ignore until it’s too late. The cause is almost always related to the brake fluid, the lifeblood of the hydraulic system, and its contamination with water.
Brake fluid is hygroscopic, meaning it naturally absorbs moisture from the atmosphere over time. While this is a normal process, it has a catastrophic effect on the fluid’s boiling point. Fresh, high-quality brake fluid has a very high boiling point, often over 230°C, to cope with the immense heat generated during braking. Water, however, boils at 100°C. If your brake fluid is contaminated with even a small percentage of water, its boiling point can drop dramatically.
During a period of heavy or prolonged braking, such as descending a long hill, the fluid temperature can easily exceed 100°C. If the fluid boils, the water within it turns to steam. This is the critical point of failure. A key principle of hydraulic systems is that liquids are non-compressible, allowing the force from your foot on the pedal to be transferred directly to the brakes. Steam, however, is a gas, and gases are highly compressible. The following expert explanation highlights the physics at play:
Water boils at 100°C, but brake fluid’s boiling point is over 230°C. During heavy braking, the fluid can exceed 100°C. If it’s contaminated with water, that water turns to steam. Steam is a gas, and gas is compressible. Your pedal hits the floor, and the car doesn’t stop.
– Technical explanation from brake system physics, Brake fluid contamination and vapor lock phenomenon
This phenomenon, known as vapor lock, results in a total loss of braking power. The pedal goes « spongy » and can sink to the floor with no effect, as all the force is wasted compressing the steam instead of actuating the brakes. The only remedy is to allow the system to cool down, but the underlying vulnerability remains. Regular inspection and replacement are the only ways to prevent this invisible danger.
Your Action Plan: Brake Fluid Inspection Protocol
- Request an electronic brake fluid tester reading at every service to measure moisture percentage.
- Replace brake fluid if moisture content exceeds the industry safety threshold of 3%.
- Schedule a complete brake fluid flush every 2 years, regardless of mileage, as a preventative measure.
- Visually check the fluid reservoir; dark or cloudy fluid indicates contamination and requires attention.
- Test the pedal feel monthly when the car is stationary; progressive softness can indicate fluid degradation.
Warped disc or balance issue: how to tell the difference?
A rhythmic pulsation or judder felt through the brake pedal, and sometimes the steering wheel, during braking is a common and unnerving complaint. The immediate and widespread diagnosis is often « warped discs. » However, in modern vehicles, the true warping of a heavy cast-iron disc is exceptionally rare. The real culprit is almost always a more subtle condition known as Disc Thickness Variation (DTV).
DTV is not a physical bending of the disc. Instead, it refers to microscopic variations in the disc’s thickness. This unevenness is typically caused by the inconsistent transfer of friction material from the brake pads onto the disc’s surface. When the brakes get very hot and the car comes to a stop, the pads can « imprint » a thin layer of material onto that one spot. This deposit creates a high spot on the disc.
The Myth of the Warped Rotor
Detailed analysis of brake vibration complaints consistently shows that true disc warping is a myth for most passenger cars. The issue stems from Disc Thickness Variation (DTV), where uneven pad material deposits create high spots on the rotor surface. These deposits can be caused by improper bedding-in of new pads or severe overheating. Professional measurements reveal that thickness variations of just 0.05mm can cause noticeable pedal pulsation, which is almost always misdiagnosed as warped rotors.
As the disc rotates, this high spot forces the brake pad to move in and out with every revolution, sending a pulse back through the hydraulic system to your foot. The difference is subtle but crucial: a truly warped disc is a manufacturing defect, whereas DTV is a condition created during use. A similar symptom—a vibration felt through the steering wheel at speed, which may change during braking—can also be caused by a simple wheel balance issue. The key differentiator is that a wheel imbalance vibration is usually present at all times at a certain speed, whereas DTV pulsation is only present during braking.
The precision required in brake systems is astounding. A clean, perfectly mounted hub is essential for the disc to rotate true. According to Brembo’s installation specifications, a maximum of 0.05mm of hub runout is tolerated. Anything more can introduce a wobble that leads to uneven pad wear and, eventually, the very DTV you’re trying to avoid. So, while you might feel a « warp, » the root cause is far more likely to be an issue of material transfer or installation precision.
How to rod your new pads to avoid glazing them from the start?
The term « rodding, » more commonly known in professional circles as bedding-in, is one of the most critical and frequently overlooked procedures after installing new brake pads and discs. It is not simply about « taking it easy » for a few miles; it is a specific thermal process required to ensure optimal performance, longevity, and safety. Skipping this step is the primary cause of brake squeal, vibration, and significantly reduced stopping power with new components.
The goal of bedding-in is twofold. First, it creates a perfectly mated surface between the new pads and the new discs. Second, and more importantly, it involves a controlled heat cycle that transfers an even, thin layer of friction material from the pads onto the disc surface. This transfer layer is essential. It changes the braking action from an abrasive one (pad grinding on iron) to an adherent one (pad material gripping pad material), which is far more effective and stable at high temperatures.
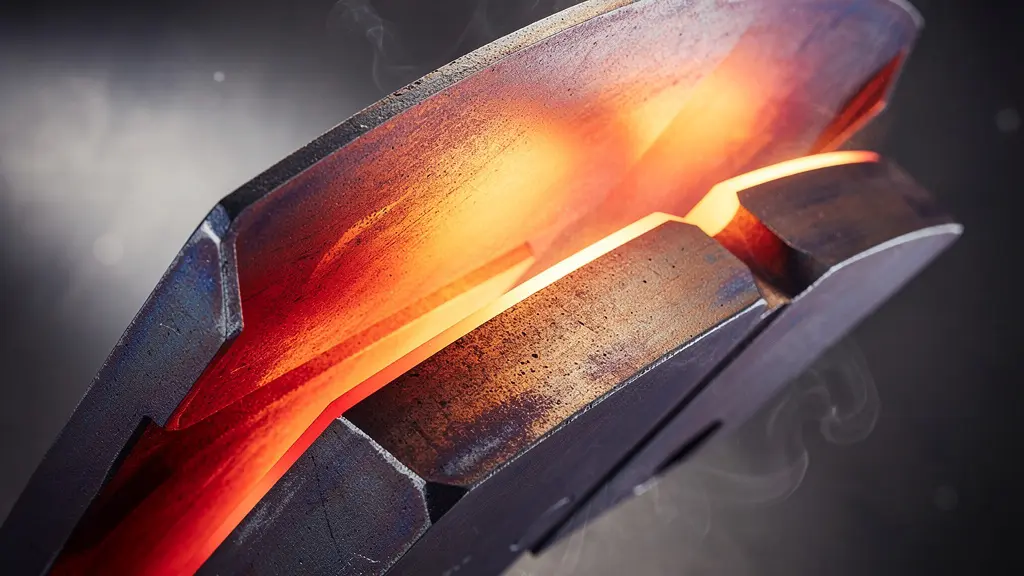
Failure to bed-in properly can lead to « glazing, » where the intense heat of a first hard stop on new pads hardens and crystallizes the surface of the friction material, making it smooth and ineffective. It also leads to uneven material deposits on the disc, causing the very Disc Thickness Variation (DTV) and pulsation discussed earlier. The following procedure should be performed in a safe, traffic-free area:
- Perform a series of 6-8 moderate, firm stops from around 40 mph down to 10 mph. Never come to a complete stop.
- Immediately accelerate back to speed after each stop. Leave approximately 30 seconds between each braking application to allow for some cooling.
- After the last stop in the sequence, drive for 5-10 minutes, using the brakes as little as possible, to allow the entire system to cool down completely.
- It is critical to avoid coming to a complete stop with hot brakes during this process, as this will imprint pad material on one spot of the disc.
This controlled heating and cooling cycle cures the resin in the pads and establishes that vital transfer layer. For the next 200 miles, you should still brake moderately and avoid aggressive, high-heat stops to allow the components to fully cure and stabilize.
Pneus usés à 2mm vs neufs : quelle différence de freinage sur sol mouillé ?
A vehicle’s braking system doesn’t stop the car; it stops the wheels. The ultimate connection to the road—and the final determinant of your stopping distance—is your tyres. An advanced braking system with powerful calipers and high-friction pads is rendered useless if the tyres cannot transfer that braking force to the tarmac. This relationship is never more critical than on a wet road, where tyre tread depth becomes the single most important factor for safety.
The deep grooves in a new tyre (typically around 8mm) are not for decoration. They are engineered channels designed to evacuate large quantities of water from the contact patch between the tyre and the road. This process is essential to prevent aquaplaning, a dangerous situation where the tyre rides on a film of water, completely losing contact with the road surface. As a tyre wears, the depth of these channels decreases, drastically reducing its ability to clear water.
The consequences for wet braking are dramatic and often underestimated. While the legal minimum tread depth in the UK is 1.6mm, performance degradation begins much earlier. Independent testing consistently shows a significant drop-off in wet grip and a corresponding increase in stopping distance once tread depth falls below 3mm. In fact, specific testing shows a 14-meter longer stopping distance for a vehicle with tyres at 2mm tread depth compared to new 8mm tyres when braking from just 50 mph on a wet surface.
To put that in perspective, 14 meters is the length of three average family cars. In an emergency braking situation, that is the difference between a safe stop and a severe collision. Studies have shown that a car braking from 50 mph on a wet road with new tyres (8mm) might stop in around 26 metres. The same car, with tyres worn to 2mm, will require approximately 40 metres to come to a halt. The braking system is doing its job perfectly in both scenarios, but the worn tyres simply cannot generate the necessary grip.
Key Takeaways
- Brake noises are a specific code: a high-pitched squeal is often a built-in warning, while a deep grinding sound signifies immediate, critical damage.
- Component quality is not a luxury. Budget parts often lead to a false economy, resulting in shorter life, poor performance, and potentially dangerous failures.
- The entire braking system is interconnected. The condition of your brake fluid and tyres is just as critical to stopping power as the pads and discs themselves.
Disques de frein à 20 £ : l’économie qui rallonge votre distance d’arrêt de 10m
In the same way that budget pads represent a compromise, opting for the cheapest available brake discs is a decision with hidden but significant safety implications. A brake disc appears to be a simple piece of cast iron, but the difference between a £20 budget part and a £60 premium disc lies in metallurgy, manufacturing precision, and thermal design—factors that directly influence your car’s ability to stop repeatedly and safely.
Premium discs are manufactured from high-carbon G3000-grade cast iron. This specific metallurgy offers superior thermal stability and dampens vibrations, leading to quieter and smoother operation. Budget discs often use lower-grade grey iron with inconsistent quality, which is more prone to heat stress and developing hard spots, leading to vibration and uneven wear. Furthermore, the manufacturing process itself is a key differentiator.
A quality disc is machined flat to within a few microns. A £20 disc may have enough ‘runout’ from the factory to cause vibrations and premature, uneven wear on your brand new brake pads.
– Brake component manufacturing analysis, Brake disc manufacturing tolerance study
This « runout, » or deviation from perfect flatness, is a critical factor. As this table from a component quality guide demonstrates, the tolerances are worlds apart:
| Quality Factor | Premium Discs (£60-100) | Budget Discs (£15-30) |
|---|---|---|
| Cast Iron Grade | High-carbon G3000 specification | Basic grey iron, variable quality |
| Manufacturing Tolerance | ±0.05mm runout from factory | Up to ±0.2mm runout common |
| Heat Dissipation | Maintains effectiveness after repeated stops | Brake fade after single hard stop |
| Protective Coating | Geomet or zinc coating on hub/edges | Bare metal, rapid corrosion |
| Balancing | Precision balanced | Often unbalanced, causes vibration |
Perhaps the most critical difference is heat dissipation. During heavy braking, discs can glow red hot. Premium discs are designed to manage this heat effectively, ensuring consistent performance stop after stop. Budget discs with inferior metallurgy and simpler designs can’t shed heat as quickly. This leads to brake fade, a terrifying phenomenon where the brakes become less effective with each repeated application as the entire system overheats. That £20 saving on a pair of discs could easily translate to a 10-metre longer stopping distance after just one or two hard stops on a winding road.
Défaut Majeur vs Dangereux : pouvez-vous ramener la voiture chez vous ?
Understanding the severity of a brake fault is critical for your immediate safety and legal compliance. Not all brake problems are equal. In the context of vehicle safety inspections like the MOT test, faults are often categorized, and a similar logic can be applied by any driver to make a crucial decision: is the car safe enough to drive to a garage, or does it need to be recovered?
A « Major » Fault is a defect that must be repaired as soon as possible, but it doesn’t necessarily render the vehicle immediately immobilised. The braking system is compromised but may still offer some level of functionality. Examples include the persistent high-pitched squeal of a wear indicator, a slight to moderate pedal pulsation (DTV), or a noticeable but not total loss of braking efficiency. In these cases, the vehicle can usually be driven cautiously and at low speeds directly to a place of repair.
A « Dangerous » Fault, on the other hand, means the vehicle poses a direct and immediate risk to road safety. Driving a vehicle with a dangerous fault is illegal and profoundly unsafe under any circumstances. This category includes symptoms that indicate a catastrophic failure is imminent or has already begun. The metal-on-metal grinding sound of a completely worn-out pad, a brake pedal that sinks to the floor (vapor lock or a fluid leak), severe pulling to one side indicating a caliper failure, or any visible brake fluid leak are all unequivocally dangerous faults. If you experience any of these, you must stop the vehicle as soon as it is safe to do so and arrange for it to be towed.
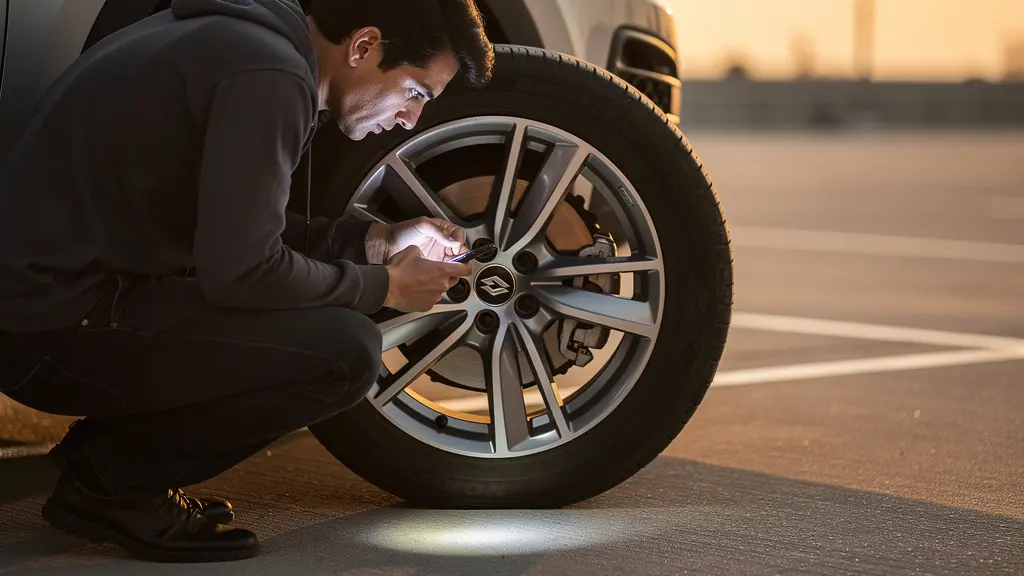
The responsibility lies with the driver to make this assessment. To stay proactive, safety experts recommend a minimum of an annual brake inspection regardless of mileage. This simple check can identify developing issues before they escalate from major to dangerous. Being able to correctly classify a symptom is not just about avoiding a repair bill; it’s about personal and public safety.
Don’t wait for a dangerous fault to force your hand. Use this knowledge to listen to your vehicle, ask informed questions at your next service, and partner with your mechanic to ensure every stop you make is a safe one.
Frequently Asked Questions about Brake Fault Diagnosis
What constitutes a ‘Major’ brake fault?
A Major fault means immediate repair is required but the vehicle may be carefully driven to a repair facility. Examples include persistent squealing from wear indicators, moderate pedal pulsation (vibration), or a slightly increased stopping distance that feels less effective than normal.
What defines a ‘Dangerous’ brake fault?
A Dangerous fault means the vehicle is illegal and unsafe to drive under any circumstances. This includes a harsh, metal-on-metal grinding noise, a brake pedal that feels spongy and goes to the floor, the vehicle severely pulling to one side when braking, or any visible brake fluid leaks under the car.
How can I safely test my brake condition?
In an empty and safe area like a car park, perform a gentle stop from a very low speed (5-10 mph) to check for a firm pedal feel and ensure the car stops in a straight line. If that feels normal, you can then perform one harder stop to test its effectiveness. Any unusual behavior, noise, or feeling warrants an immediate professional inspection.