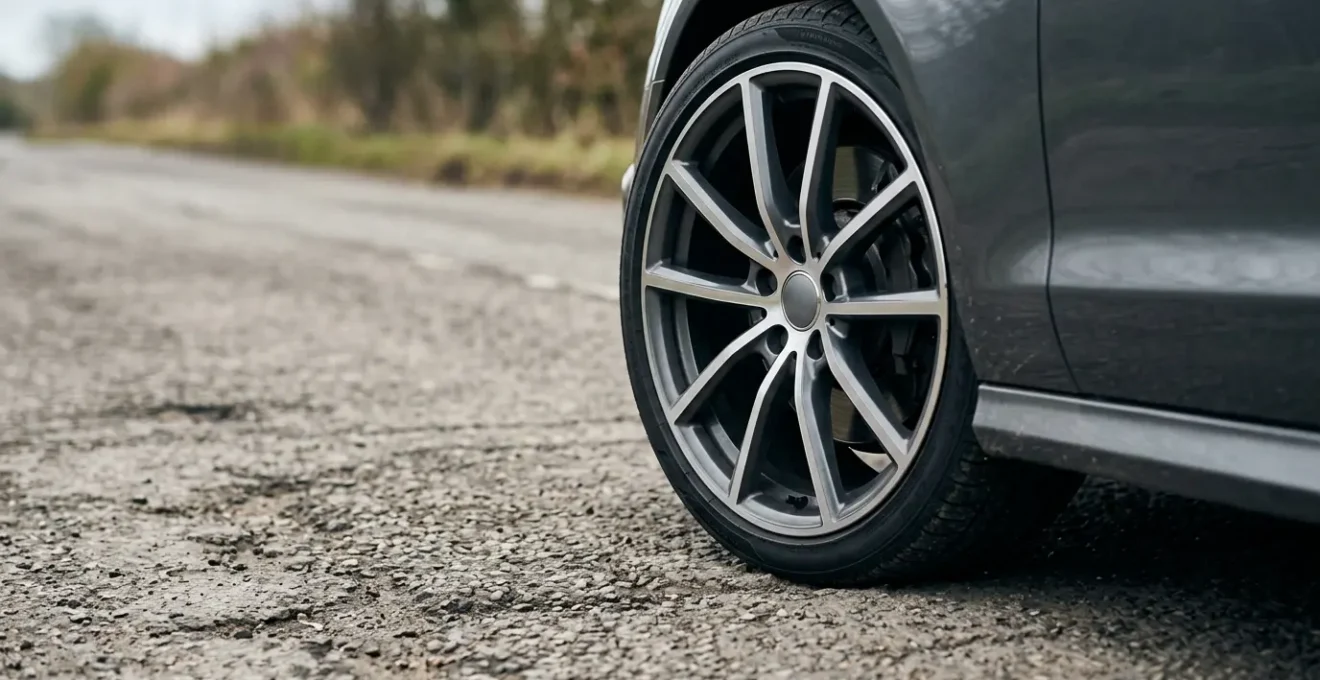
Upgrading to larger wheels is primarily an aesthetic choice with significant, often negative, engineering consequences for ride comfort and running costs.
- Smaller tyre sidewalls act as less effective dampers, transmitting more high-frequency road shocks directly into the cabin.
- Increased unsprung mass and rotational inertia negatively impact fuel economy, acceleration, and the suspension’s ability to keep the tyre in contact with the road.
Recommendation: Prioritise a wheel size that was a factory option for your specific car model to ensure the suspension is tuned for it, or be prepared for the significant compromises in comfort and durability.
There’s no denying the visual appeal. A car fitted with large, stylish wheels that fill the arches has a certain presence, a « perfect stance » that can transform its look from mundane to magnificent. The common wisdom is that making this switch makes the ride « a bit bumpier, » a small price to pay for such a dramatic aesthetic improvement. However, this statement dangerously oversimplifies a fundamental engineering reality. As a chassis engineer, I can tell you the trade-off is far more complex and impacts much more than just a little jiggle in the cabin.
The core of the issue lies in a concept most drivers never consider: your tyre is not just a piece of rubber; it is the first and most compliant component of your vehicle’s suspension system. Every pothole, expansion joint, and road imperfection is met first by the tyre’s sidewall. Engineers spend thousands of hours meticulously tuning a car’s springs, dampers, and bushings to work in harmony with a specific range of tyre sizes. When you dramatically increase wheel diameter—and consequently decrease the tyre’s sidewall height—you are not just changing a wheel; you are fundamentally altering the entire dynamic system, primarily by increasing unsprung mass and removing the most effective primary damper.
This article will break down, from an engineering perspective, the real-world consequences of this popular modification. We will explore why low-profile tyres are more vulnerable, the hidden maintenance costs that go beyond the initial purchase, and how this choice impacts everything from your fuel bill to your safety on a wet road. Understanding these trade-offs is crucial to making an informed decision that doesn’t sacrifice the finely-tuned ride quality your car was designed to deliver.
To fully grasp the implications of changing your wheel size, this guide breaks down the key areas of concern, from immediate risks on the road to long-term financial and maintenance impacts. The following sections provide a detailed engineering analysis of each critical factor.
Summary: The Real-World Impact of Larger Wheels
- Why Do Low-Profile Tyres Burst Faster on British Roads?
- Is ‘White Worm’ Corrosion on Diamond-Cut Wheels Inevitable?
- Are Fallout Removers Safe for Your Clear Coat?
- Is the Tyre’s Rim Protector Enough to Save Your Wheel from the Curb?
- Do 19-Inch Wheels Really Cost You More in Fuel Than 17-Inch Ones?
- Centre vs. Edge Wear: What Your Tyres Are Telling You About Your Pressure
- Warped Disc or Balancing Issue: How to Tell the Difference?
- How to Check Your Tyres with a 20p Coin and Avoid £2500 Fine?
Why Do Low-Profile Tyres Burst Faster on British Roads?
The term « low-profile » directly refers to a shorter tyre sidewall. While this creates a sharp, sporty look, it critically reduces the tyre’s ability to act as a primary shock absorber. When a tyre with a generous sidewall (e.g., on a 17-inch wheel) encounters the sharp edge of a pothole, its tall, flexible wall can deform, absorb the impact, and flex around the obstacle. A low-profile tyre on a 19 or 20-inch wheel lacks this crucial compliance. Its short, stiff sidewall has very little room to give. This vulnerability is especially pronounced on poorly maintained surfaces, often characteristic of many British roads.
The most common failure mode is a « pinch flat » or « pothole blowout. » When the tyre hits a sharp edge, the stiff sidewall is compressed so forcefully that it gets pinched between the road surface and the metal edge of the wheel rim. This immense pressure instantly severs the tyre’s structure, causing a rapid and often catastrophic loss of air. The risk is not trivial; research consistently shows that pothole damage is a frequent and expensive problem for motorists, and low-profile tyres are disproportionately affected.
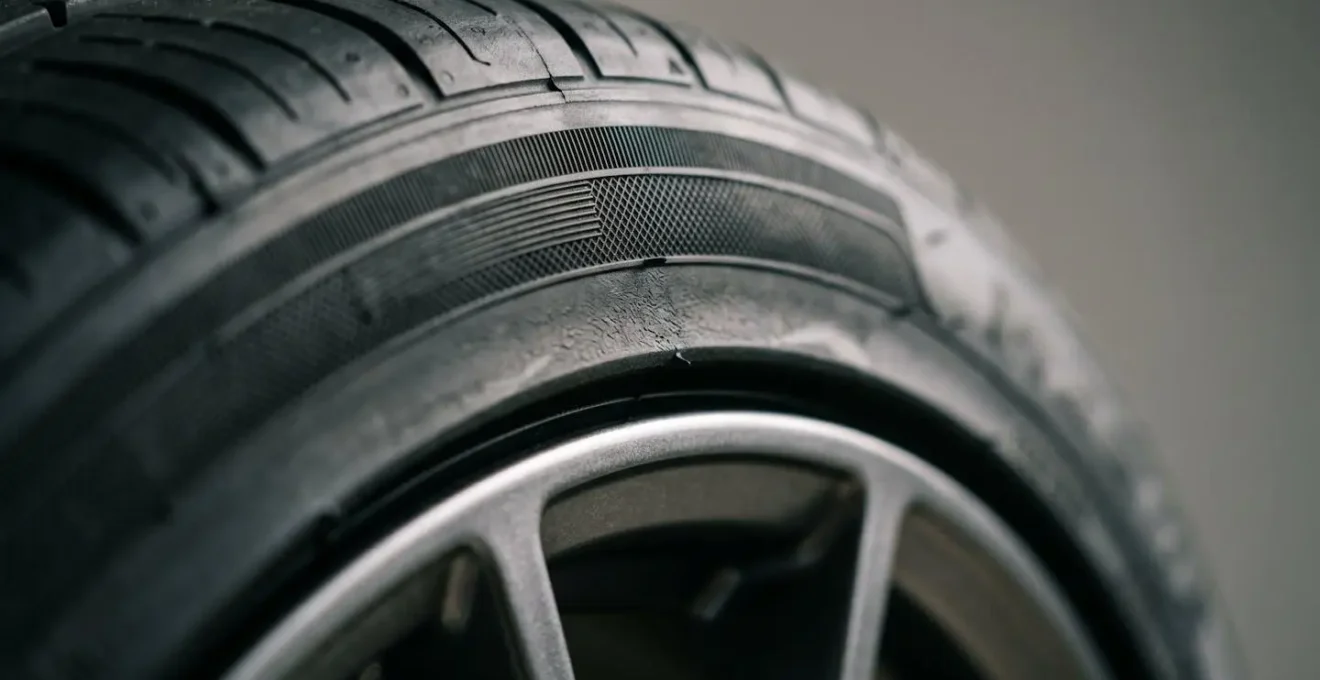
As this detailed view shows, the distance between the rigid wheel rim and the road is dangerously small on a low-profile tyre under compression. According to Consumer Reports, this lack of flex is precisely why performance-oriented tyres are more prone to damage. Their analysis confirms that short, stiff sidewalls can’t conform to a pothole edge as effectively as a taller, softer tyre can, making a blowout significantly more likely.
Is ‘White Worm’ Corrosion on Diamond-Cut Wheels Inevitable?
Diamond-cut wheels, with their distinctive two-tone, machined metal face, are a popular premium feature. However, their beauty is notoriously fragile. Unlike a standard painted alloy, which has a robust, uniform protective coating, a diamond-cut wheel has only a thin layer of lacquer protecting the bare, machined aluminium face. Once this lacquer is breached, corrosion is not just possible; it’s almost certain. The problem begins with a single stone chip or a minor kerb scrape. This tiny break in the lacquer seal allows moisture and road salt to creep underneath.
From there, a process called filiform corrosion begins. The moisture travels along the machined grooves of the wheel face, creating ugly, milky-white trails under the lacquer. This is what’s commonly known as « white worm » corrosion. It spreads insidiously, ruining the wheel’s finish from the inside out. Once it starts, it cannot be stopped without completely stripping and refinishing the wheel. This is not just an aesthetic issue; it points to a fundamental weakness in the design’s durability, especially in climates with wet weather and gritted winter roads.
Case Study: The Limits of Diamond-Cut Refurbishment
The process of repairing a diamond-cut wheel highlights its inherent fragility. A specialist technician from Manchester Powder Coating explains that to fix the corrosion, a micro-layer of the wheel’s metal face must be shaved off on a lathe to create a fresh surface before re-lacquering. Because this removes material, a wheel can typically only be re-diamond cut once or twice in its lifetime before its structural integrity is compromised. This makes every kerb scrape a potentially costly and finite repair.
While the design is inherently susceptible, neglect is the primary accelerator. Specialist wheel repair data shows a strong correlation, indicating that a significant majority of wheels with severe « white worm » issues are not properly maintained. According to insights from a leading UK repairer, 95% of corroded diamond-cut wheels also lack a consistent cleaning and sealing regimen. Applying a quality wheel sealant regularly can add a crucial extra layer of protection, helping to repel moisture and prevent it from penetrating minor chips in the lacquer.
Are Fallout Removers Safe for Your Clear Coat?
Fallout removers are a popular and effective car cleaning product, designed to remove tiny, embedded iron particles from your vehicle’s paintwork and wheels. These particles, often from brake dust or industrial sources, bond to the surface and can cause rust spots if left untreated. These products work through a chemical reaction; their active ingredient, typically thioglycolic acid, reacts with the iron, dissolving it into a soluble solution that famously turns a dramatic purple or red colour, indicating the reaction is working. This is often referred to as « bleeding. »
The critical question is their safety on the clear coat lacquer of your wheels. The majority of high-quality, modern fallout removers are advertised as pH-neutral. This is a crucial feature. A pH-neutral formula is designed to be aggressive towards iron particles but gentle on factory-applied clear coats, waxes, and sealants when used correctly. The danger arises with cheaper, more acidic formulas or when a pH-neutral product is used improperly. Leaving any chemical, even a gentle one, to dry on a hot surface or in direct sunlight can lead to staining or etching of the clear coat.
The greatest risk is not to pristine, factory-finished wheels, but to wheels with compromised surfaces. If your wheels have pre-existing damage—such as the lacquer breach that causes « white worm » corrosion or deep scratches—a fallout remover can penetrate these weak spots and potentially accelerate damage to the underlying alloy. The best practice is to always work on a cool, clean wheel in the shade, never let the product dry completely, and rinse it off thoroughly within the manufacturer’s recommended time. For any refinished or non-factory wheel, always perform a spot test on an inconspicuous area first.
Is the Tyre’s Rim Protector Enough to Save Your Wheel from the Curb?
Many modern tyres, especially low-profile variants, are marketed with a feature called a « rim protector » or « rim flange protector. » This is essentially a raised, reinforced ridge of rubber that runs along the tyre’s bead, protruding slightly further out than the face of the wheel rim. The design intention is straightforward: to act as a sacrificial buffer, making contact with a kerb before the expensive alloy wheel does. In theory, it’s a great idea, but in practice, its effectiveness is highly conditional.
A rim protector works best in one very specific scenario: a very low-speed, parallel-parking scrape where the tyre gently brushes against a smooth, standard-height kerb. In this ideal case, the rubber ridge will indeed take the brunt of the abrasion, leaving a scuff on the tyre instead of a gash in the metal. However, the protection becomes almost entirely ineffective in most other real-world situations. If you approach the kerb at a slightly sharper angle, or if the kerb is particularly high or has a sharp, broken edge, the impact will easily bypass the shallow rubber protector and strike the wheel rim directly.
Furthermore, the effectiveness of the protector is heavily influenced by the tyre’s fitment. On vehicles with a « stretched » tyre look, where a narrower tyre is fitted to a wider rim, the sidewall is pulled inwards at an angle. This completely negates the function of the rim protector, as the lip of the wheel becomes the outermost point. Ultimately, a rim protector should be seen as a minor defence against light scuffs, not as a foolproof guarantee against kerb damage. It’s like a thin bumper on a phone case—helpful for a minor bump, but it won’t save the screen from a direct impact. Relying on it is a gamble; the only true protection is cautious driving near kerbs.
Do 19-Inch Wheels Really Cost You More in Fuel Than 17-Inch Ones?
The short answer is an unequivocal yes. The relationship between wheel size and fuel consumption is governed by fundamental physics, primarily involving two concepts: rotational inertia and rolling resistance. Larger wheels, combined with their corresponding tyres, are almost always heavier than their smaller-diameter counterparts. This added mass is located at the furthest point from the centre of rotation, which dramatically increases rotational inertia. Think of it like a figure skater spinning: when they pull their arms in, they spin faster; when they extend them, they slow down. A larger, heavier wheel is like the skater with arms extended—it requires significantly more energy from the engine to get it spinning and more energy from the brakes to slow it down.
This penalty in energy translates directly into higher fuel consumption. While the exact percentage varies by vehicle and driving style, the effect is well-documented. For example, a U.S. Department of Energy study found that increasing wheel size reduces fuel efficiency by approximately 2-4% for every two inches of diameter increase. This might seem small, but over the lifetime of a vehicle, it adds up to a considerable extra cost.
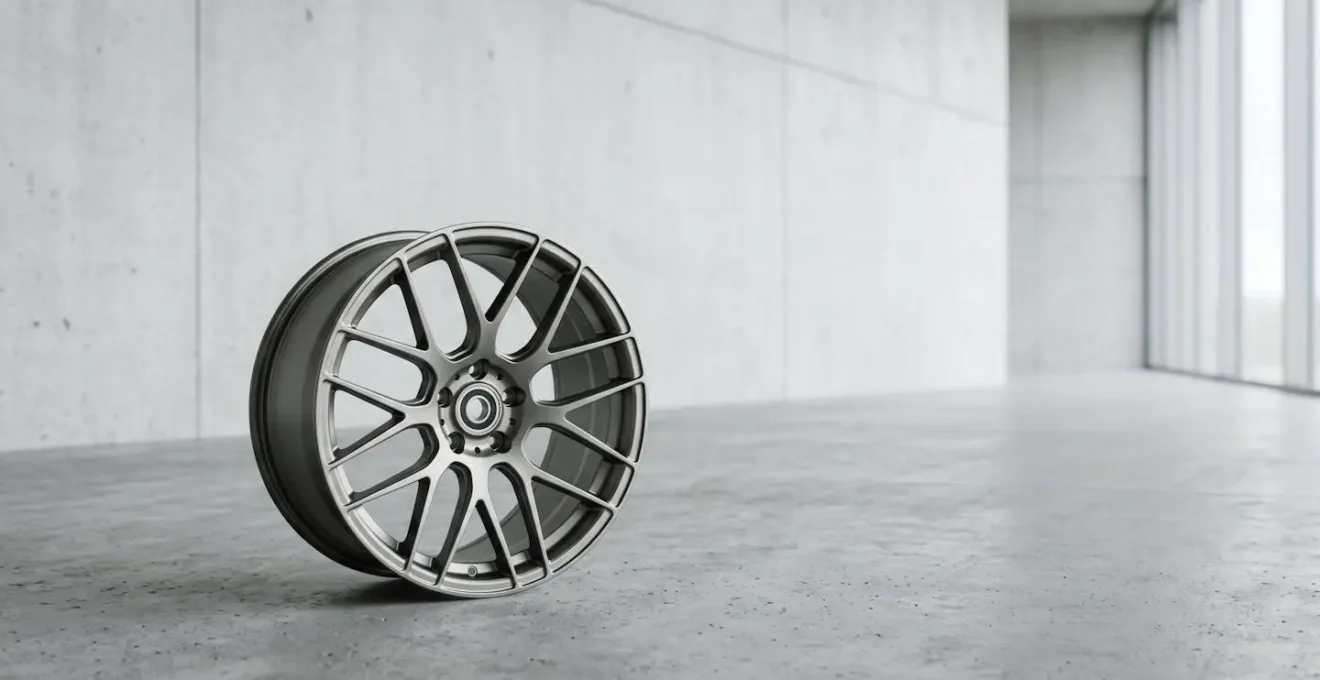
But the fuel penalty is just one part of the equation. The Total Cost of Ownership (TCO) for larger wheels is significantly higher across the board, as a breakdown of the key factors clearly demonstrates in the following table.
| Cost Factor | Impact of Larger (19-inch) Wheels |
|---|---|
| Initial Purchase Cost | Wheels and tyres are typically 20-30% more expensive. |
| Fuel Consumption | 2-4% increase due to higher rotational inertia and rolling resistance. |
| Tyre Replacement | Low-profile tyres wear faster and are more prone to non-repairable damage. |
| Repair Costs | Higher risk of expensive wheel and tyre damage from potholes. |
| Suspension Maintenance | Increased stress on components like bearings and joints may lead to premature wear. |
Centre vs. Edge Wear: What Your Tyres Are Telling You About Your Pressure
Uneven tyre wear is a clear physical indicator that something is amiss with your vehicle’s setup, and pressure is the most common culprit. Your tyres are designed to have a specific contact patch—the area of the tread that is in contact with the road at any given moment. The correct inflation pressure, specified by your vehicle’s manufacturer (usually found on a sticker in the driver’s door jamb), ensures this contact patch is flat and even, distributing the vehicle’s weight uniformly across the tread.
When the pressure is incorrect, the shape of the contact patch changes, leading to two classic wear patterns:
- Over-inflation: If a tyre is over-inflated, it bulges in the middle, much like a balloon that’s been blown up too much. This causes the centre of the tread to carry a disproportionate amount of the vehicle’s weight, while the outer edges may barely touch the road. The result is rapid wear down the centre of the tyre, while the shoulders remain relatively unworn.
- Under-inflation: Conversely, an under-inflated tyre sags under the vehicle’s weight. The centre of the tread bows upwards, lifting away from the road surface, which forces the outer shoulders of the tyre to support the load. This leads to accelerated wear on both outer edges of the tread. This is particularly dangerous as it also causes the sidewalls to flex excessively, generating heat and increasing the risk of a blowout.
It’s important to distinguish this from wear on just one edge (inner or outer), which typically points towards an alignment issue like incorrect camber or toe, rather than a pressure problem. Regularly checking your wear patterns is a simple diagnostic tool that can save you money on fuel and premature tyre replacement, and significantly improve your safety.
Your 5-Step Tyre Health Audit
- Points of contact: Visually inspect all four tyres, looking for obvious differences in wear patterns from one tyre to another or across the face of a single tyre.
- Collect data: Use a tread depth gauge (or the coin method) to measure the depth in three locations on each tyre: the inner shoulder, the centre, and the outer shoulder.
- Check coherence: Compare your findings to the ideal wear pattern (even wear across the tread) and your vehicle’s recommended tyre pressures.
- Analyse symptoms: If you see accelerated centre wear, your pressure is likely too high. If both edges are worn, it’s too low. If only one edge is worn, suspect an alignment problem.
- Plan of action: Adjust pressures to the manufacturer’s specification. If uneven wear persists or is asymmetrical, schedule a professional wheel alignment check.
Warped Disc or Balancing Issue: How to Tell the Difference?
A vibration felt through the steering wheel or the body of the car is a common and disconcerting issue. The two most frequent causes are a wheel balancing problem or a warped brake disc (rotor), but they manifest in distinctly different ways. Learning to tell the difference can help you accurately describe the symptom to a mechanic, leading to a faster and more accurate diagnosis. The key is to pay attention to *when* the vibration occurs.
A wheel balancing issue is caused by an uneven weight distribution in the wheel and tyre assembly. As the wheel rotates, this imbalance creates a centrifugal force that causes a vibration, or « shimmy. » The defining characteristic of an imbalance is that it is speed-dependent. The vibration will typically only appear within a specific speed range (e.g., between 55-70 mph) and may smooth out or disappear entirely as you go faster or slower. The vibration is present during constant-speed cruising and is not affected by whether you are braking or accelerating.
A warped brake disc, on the other hand, is a problem with the braking system itself. A disc is considered « warped » when its surface is no longer perfectly flat, often due to extreme heat cycles. When you apply the brakes, the brake pads squeeze against this uneven, rotating surface, causing a pulsation. The defining characteristic here is that the vibration is felt almost exclusively during braking. You will feel a distinct pulsing sensation through the brake pedal and often a shuddering or shaking in the steering wheel. This vibration will be most noticeable during moderate to firm braking from higher speeds and will disappear as soon as you release the brake pedal.
Key Takeaways
- Larger wheels inherently reduce ride comfort because the shorter, stiffer tyre sidewall is a less effective damper for road imperfections.
- The increased weight and rotational inertia of big wheels directly lead to poorer fuel economy, slower acceleration, and increased stress on suspension components.
- Aesthetic upgrades to larger or diamond-cut wheels come with a higher total cost of ownership due to more expensive tyres, higher fuel use, and increased vulnerability to costly damage.
How to Check Your Tyres with a 20p Coin and Avoid £2500 Fine?
In the UK, driving with tyres that don’t meet the minimum legal tread depth is a serious offence. The law requires a continuous depth of at least 1.6mm across the central three-quarters of the tread, around the entire circumference of the tyre. Failing to comply can result in a fine of up to £2,500 and three penalty points on your licence—per tyre. But the legal requirement is secondary to the safety imperative. Tyre tread is designed to channel water away from the contact patch to prevent aquaplaning. As the tread wears down, its ability to do this diminishes dramatically.
The danger is not theoretical. Research consistently proves the link between tread depth and stopping distances in wet conditions. For instance, a 2018 AAA study revealed that tyres with only 3.2mm (4/32 inch) of tread—twice the legal minimum—increased stopping distances on wet roads by a staggering 87 feet compared to new tyres. This is a critical safety consideration that far outweighs the fear of a fine.
Fortunately, checking your tread depth is simple. The 20p coin test is a well-known and reliable method in the UK. Simply insert a 20 pence coin into the main tread grooves of your tyre. If you can see the outer band of the coin, your tread is likely below the 1.6mm legal limit, and the tyre needs to be replaced immediately. It is essential to perform this check in at least three different places around the tyre’s circumference. Another built-in feature to check for is the Tread Wear Indicator (TWI) bars. These are small, raised bars located within the main grooves. When the surface of the tread becomes flush with these bars, the tyre has reached its 1.6mm legal limit and is no longer safe or legal for road use.
Before making your next wheel and tyre purchase, evaluate these engineering trade-offs to make an informed choice that balances aesthetics with the ride quality, safety, and running costs you can live with.
Frequently Asked Questions About Tyre Checks
How do I use the 20p coin test to check tire tread depth in the UK?
Insert a 20p coin into the main tread grooves of your tire. If the outer band of the 20p coin is visible, your tread depth is below the legal limit of 1.6mm and the tire must be replaced immediately.
What is the US penny test for checking tire tread depth?
Insert a US penny with Lincoln’s head upside down into the tire groove. If you can see the top of Lincoln’s head, your tread is at or below 2/32 inch (approximately 1.6mm), indicating the tire needs replacement.
How do I use the Euro coin method to check tread depth?
Insert a €1 coin into the tire’s main grooves. If the gold outer ring of the coin is visible, your tread depth may be approaching the minimum legal limit and should be measured more precisely with a gauge.
What are Tread Wear Indicator (TWI) bars and how do I find them?
TWI bars are small horizontal ridges built into the main grooves of the tire, evenly spaced around its circumference. When the tread surface becomes level with these bars, the tire has reached the minimum legal tread depth of 1.6mm and must be replaced.